

Finding the right starting point for a kitchen remodel can leave many Illinois homeowners feeling uncertain and overwhelmed by choices. A thoughtful plan is the foundation for staying on budget and achieving the results you want without stress. By focusing on a clear renovation scope and a realistic budget, you give yourself the control and confidence needed for every step ahead. Detailed planning is the key to a successful, satisfying kitchen transformation.
Table of Contents
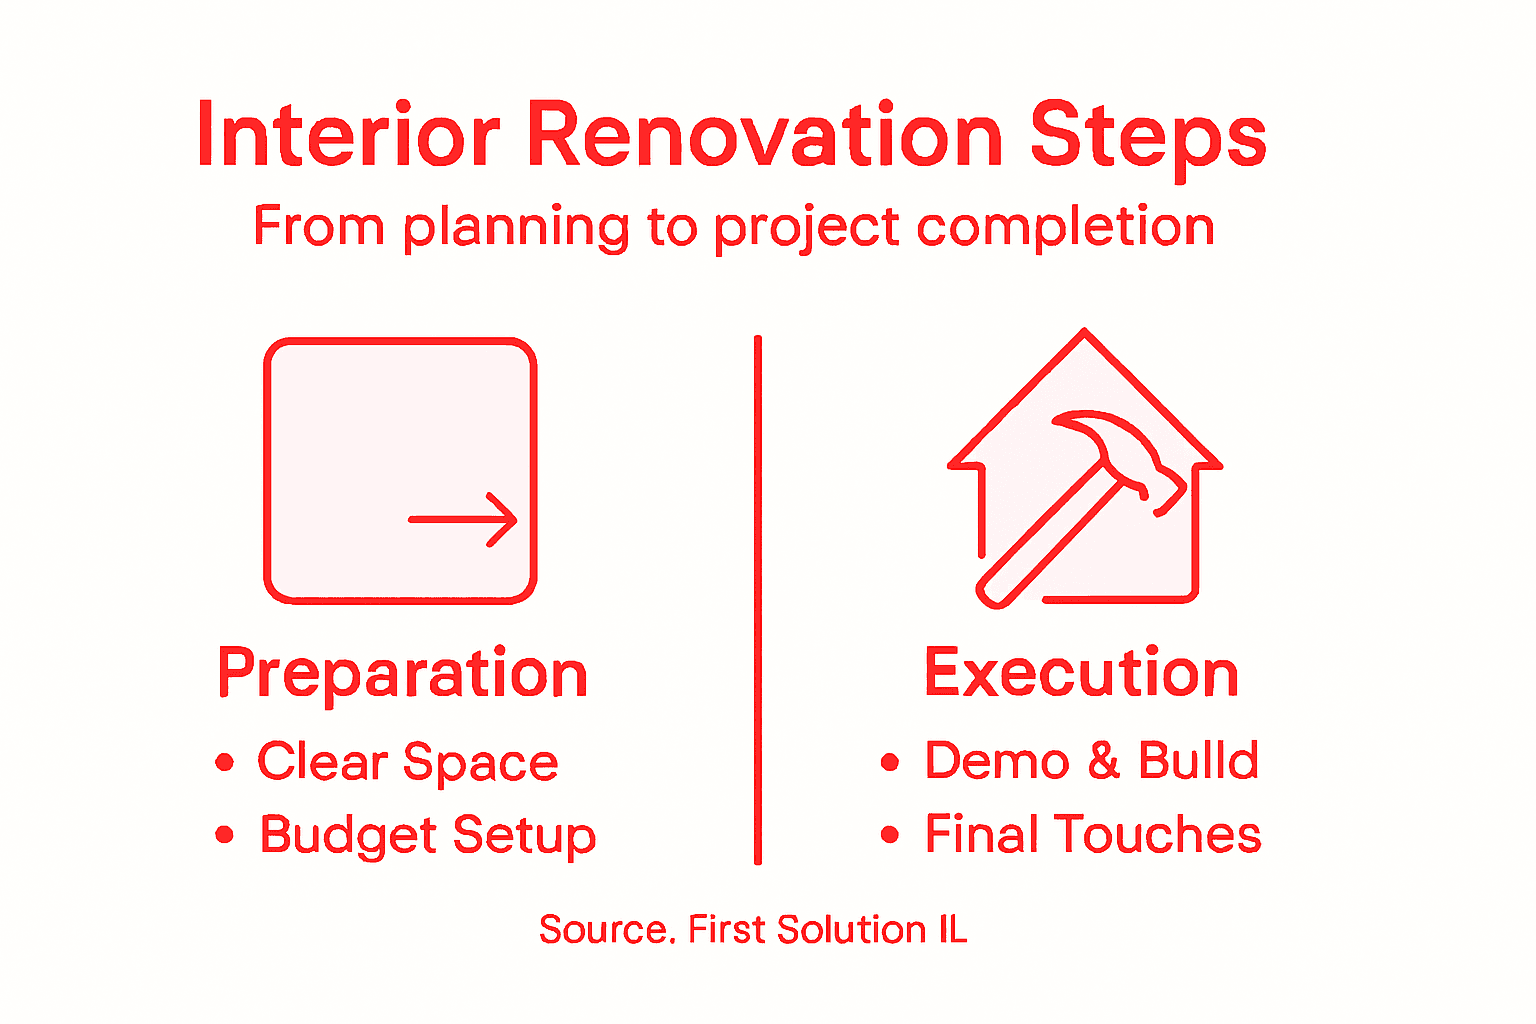
- Step 1: Plan Your Renovation Scope And Budget
- Step 2: Prepare The Space And Materials
- Step 3: Execute Key Renovation Tasks
- Step 4: Inspect And Finalize The Project
Quick Summary
| Key Message | Explanation |
|---|---|
| 1. Define Your Renovation Scope | Clearly outline what you want to change in your kitchen before starting any work. |
| 2. Research Local Costs | Investigate average renovation costs in your area to create a realistic budget. |
| 3. Set a Contingency Fund | Allocate 15-20% of your budget for unexpected expenses that may arise during the project. |
| 4. Create a Detailed Materials Checklist | Validate all specifications for materials before installation to avoid costly mistakes. |
| 5. Conduct a Thorough Final Inspection | Perform a final walkthrough to ensure all work meets your expectations before making final payments. |
Step 1: Plan Your Renovation Scope and Budget
Before you swing a hammer or call a contractor, you need a clear picture of what you’re renovating and what it will cost. This step sets the foundation for your entire project and prevents costly surprises down the road.
Start by defining exactly what you want to change. Are you updating just the cabinets and countertops, or are you replacing plumbing and electrical too? Write down every element you want to address. This becomes your scope statement—your blueprint for what stays in and what gets replaced.
Next, research typical costs for kitchen renovations in your area. Kitchen renovation costs vary significantly by location and scope, so knowing Illinois-specific pricing matters for your budget accuracy. Call local contractors or check recent project costs online to establish realistic numbers.
Here’s where most homeowners stumble: they forget the hidden expenses. Set aside a contingency fund of 15 to 20 percent of your total budget for unexpected issues. Found old wiring behind the walls? Discovered water damage? These discoveries happen constantly in kitchen remodels, and your contingency covers them without derailing the entire project.
Break your budget into categories:
- Cabinetry and hardware (typically 30 to 40 percent of your budget)
- Countertops and backsplash (15 to 25 percent)
- Flooring (10 to 20 percent)
- Appliances (10 to 15 percent)
- Labor and installation (20 to 35 percent)
- Permits and miscellaneous (5 to 10 percent)
Prioritize what matters most to you. If you love cooking, invest more in appliances and work surfaces. If entertaining is your thing, focus on open layout and lighting. You cannot have everything, so decide where your money creates the most joy for your lifestyle.
Here’s a comparison of common renovation priorities and how they influence your budget:
| Priority Focus | Most Impacted Budget Categories | Common Trade-Offs |
|---|---|---|
| Cooking & Function | Appliances, Counters, Work Surfaces | Less spent on décor, fixtures |
| Entertaining Guests | Lighting, Layout, Open Space | Smaller appliance upgrades |
| Durability | Flooring, Cabinets, Hardware | Fewer custom features |
| Aesthetics | Cabinet Finishes, Backsplash, Paint | Lower investments in appliances |
Write everything down. Create a spreadsheet with line items, estimated costs, and actual quotes as you gather them. This document becomes your project bible—it keeps you accountable and shows contractors you’re serious and organized.
Your scope and budget form the guardrails for your entire renovation. Get these right, and the rest of the project flows smoothly.
Pro tip: Get at least three detailed quotes from contractors before finalizing your budget, and ensure each quote breaks down labor, materials, and timeline separately so you can compare apples to apples.
Step 2: Prepare the Space and Materials
Your kitchen won’t transform itself. Before your contractor arrives on day one, you need to prepare the space and gather materials strategically. This step prevents delays and keeps your home functional during the remodel.
Start by clearing your kitchen completely. Remove everything from cabinets, drawers, and countertops. Yes, everything. Move dishes, small appliances, and pantry items to a spare bedroom or garage. This sounds extreme, but contractors need clear access to every surface and wall.
Next, establish a temporary kitchen setup elsewhere in your home. Your family still needs to eat during the renovation. Set up a small table with a microwave, coffee maker, and basic dishes in your dining room or basement. This keeps daily life manageable when your actual kitchen is under construction.
Protect what stays in place. If you’re keeping your dining room or living room intact, cover furniture with plastic sheeting. Dust travels everywhere during renovation, and you’ll appreciate this barrier weeks later.
Coordinate material deliveries carefully. Advance planning of material deliveries minimizes disruptions during construction and prevents your driveway from becoming a storage yard for weeks. Work with your contractor to schedule deliveries in phases rather than dumping everything at once.
Confirm specifications for every material before it arrives:
- Cabinet styles and finishes match your design selections
- Countertop material and color are exactly what you approved
- Flooring type and quantity align with your layout
- Appliance models and colors match your order
- Hardware and fixtures correspond to your selections
Create a materials checklist and review it with your contractor two weeks before work begins. Catching mismatches now beats discovering wrong cabinets arrived after you’ve already torn out your old ones.
Set up a secure storage area for these materials, ideally in your garage or a spare room away from moisture and dust. Keep all receipts and warranty documents in one folder.
Proper preparation prevents project delays. The time you invest now saves weeks of headaches.
Pro tip: Take photos of your current kitchen from multiple angles and save them with your materials checklist—you’ll need these reference images if questions arise about original specifications during the remodel.
Step 3: Execute Key Renovation Tasks
Now the actual work begins. Your contractor will tackle the renovation in phases, and understanding this sequence helps you track progress and anticipate disruptions. Kitchen renovations typically follow a logical order to maintain structural integrity and functionality.
The process usually starts with demolition and structural work. Your contractor removes old cabinets, countertops, and flooring. If you’re relocating plumbing or electrical lines, this happens now too. This phase is loud, dusty, and dramatic. Expect noise during typical business hours, usually 7 a.m. to 4 p.m. weekdays.

Once the space is cleared, utility installations come next. Electricians upgrade outlets, add new circuits, and install lighting. Plumbers reroute water lines and install new fixtures. Skilled labor and project management ensure quality adherence to timelines throughout execution phases. This stage determines whether your new layout actually works.
With utilities in place, structural improvements and repairs happen. Drywall gets patched or replaced, walls are prepped, and any framing issues get addressed. Your contractor also installs insulation if needed for energy efficiency.
Then comes finishing work. New cabinets are installed and leveled precisely. Countertops are cut and sealed. Backsplash tile is set. Flooring goes down last because it’s most vulnerable to damage during other work. Finally, hardware is installed, and everything gets sealed and finished.
Stay involved throughout execution:
- Walk the site weekly with your contractor to track progress
- Take photos documenting each phase for your records
- Address problems immediately rather than waiting until the end
- Keep communication clear about timeline changes or unexpected issues
- Verify quality at each stage before moving to the next phase
Build in flexibility. Most kitchen remodels hit unexpected challenges, whether hidden water damage or structural surprises. Your 15 to 20 percent contingency fund handles these without panic.
Quality execution requires constant communication. Regular check-ins prevent misunderstandings and catch problems early.
Pro tip: Schedule your final walkthrough only after all work is complete and materials have been cleaned up—inspect everything with fresh eyes before releasing final payment to your contractor.
Step 4: Inspect and Finalize the Project
Your kitchen is nearly complete. Now comes the critical step of verifying everything matches your vision and meets quality standards. This inspection protects your investment and ensures you’re satisfied before paying your final bill.
Schedule a formal final walkthrough with your contractor when all work is done and the space is cleaned. Bring your original plans, design selections, and budget spreadsheet. Walk through systematically, checking every detail against what you approved.
Inspect all systems thoroughly. Test every cabinet door and drawer to confirm they open smoothly and close properly. Turn on all lights and verify switches work. Run water at the sink, check for leaks under cabinets, and test the garbage disposal. Open and close the dishwasher multiple times. These functional checks catch problems immediately.
Examine finishes carefully. Look at countertop edges for chips or rough spots. Check tile grout for consistency and gaps. Inspect caulking around the sink and backsplash for clean lines. Run your hand along cabinet surfaces for any rough spots or uneven finishes. Detailed inspections verify completed work against plans and quality expectations, catching defects before project closure.
Create a punch list of any issues found. Document everything with photos and specific locations. Minor issues might include paint touch-ups, loose hardware, or caulk lines needing refinement. Major issues could involve cabinet alignment or plumbing leaks. Your contractor should address these items before final payment.
Use this checklist during your walkthrough:
- Cabinet fit and alignment across all runs
- Countertop seams are level and properly sealed
- Backsplash tiles are straight with consistent grout lines
- Flooring is level with no high spots or gaps
- Electrical outlets and switches function properly
- Plumbing fixtures operate without leaks
- Appliances run and fit properly in their spaces
- Hardware is installed and secure
Once punch list items are completed and corrected, conduct a second walkthrough. Only then should you release final payment. Request documentation for all warranties, guarantees, and maintenance instructions for your new systems.
Below is a summary of who should be involved at each renovation phase and their key roles:
| Project Phase | Main Responsible Party | Key Responsibilities |
|---|---|---|
| Planning & Budgeting | Homeowner | Define scope, set budget |
| Preparation | Homeowner + Contractor | Clear space, validate materials |
| Execution | Contractor | Complete construction, manage timeline |
| Final Inspection | Homeowner + Contractor | Review work, address punch list |
A thorough final inspection ensures you’re truly finished and satisfied before the project officially closes.
Pro tip: Keep all receipts, warranty cards, and contractor contact information organized in a folder stored with your home documents—you’ll need these if issues arise months or years later.
Transform Your Space with Expert Interior Renovation Support
Taking on an interior renovation can feel overwhelming when balancing budgeting, prep work, and coordinating construction phases. The article highlights key challenges like managing your renovation scope, preparing materials accurately, and ensuring quality execution without surprises. If you want to avoid common pitfalls such as unexpected costs or delays and achieve a stunning home makeover smoothly, professional guidance is essential.
At First Solution IL, we specialize in making your renovation vision a reality with craftsmanship that you can trust. Whether you are updating your kitchen, bathroom, or entire living area, our team offers comprehensive remodeling services tailored to your priorities and lifestyle. Our expertise in areas like Kitchen renovations ensures every detail from cabinetry to countertops is handled with precision.

Ready to bring your dream home to life without the stress and uncertainty? Visit First Solution IL today to explore our services and view projects showcasing the quality and care we deliver. Start with a free consultation and take the first step toward a flawless renovation experience that respects your budget and timeline. Don’t wait for delays or hidden surprises. Act now to secure your spot and let our trusted team guide your next stunning home transformation. Learn more about how we can help at our Uncategorised Archives page.
Discover the difference professional planning and execution make by connecting with our experts today.
Frequently Asked Questions
How do I determine the scope of my interior renovation?
Start by making a list of all the changes you want to make, from cosmetic updates to structural alterations. Write down every element you wish to address to create a detailed scope statement for your renovation.
What budget should I allocate for an interior renovation?
Plan to set aside a budget that includes both expected costs and a contingency fund of 15 to 20 percent for unexpected expenses. Break down your budget into categories like cabinetry, flooring, and appliances to ensure you cover all necessary areas.
How do I prepare my home for an interior renovation?
Clear your space by removing all items from affected areas, and establish a temporary setup for your daily needs. Make a list of materials needed and coordinate their deliveries so they arrive before the work begins to minimize disruptions.
What is the typical sequence of tasks in an interior renovation?
Renovation usually begins with demolition and structural work, followed by utility installations, then structural improvements and finishing work. Develop a timeline to keep track of these phases and stay informed about progress.
How can I ensure the quality of my renovation work?
Conduct a final walkthrough with your contractor when the work is complete to inspect all details against your approved plans. Create a punch list of any issues and verify they are addressed before making the final payment.